
You can enable and use multiple workspaces using the Gnome tweak tool. It can modify the look and functionality of items in the Gnome Desktop Environment. It has several features that aren’t available in the standard settings panel.
The gnome tweak tool can be installed through two different approaches:
One of the easiest way to install this application is by using the Ubuntu application manager. You need to open the application manager and search for the gnome tweak to install this application that can be seen below:
After the installation, you can access this application by:
To install the gnome tweak tool using the terminal, all you need to do is open the terminal first by right-clicking on the desktop screen and then later selecting the “Open in terminal” option or by pressing the shortcut key of “Ctrl+Alt+T”. After that, execute the command mentioned below:
Later you can open the application by the below given command:
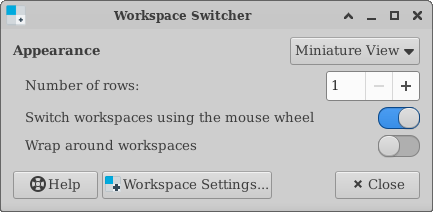
You will see many customization options available after opening the gnome tweak tool. So you need to select the “Workspace” tab to activate it, which can be seen in the image below:
Four workspaces are available by default, but if you want to change them according to your requirements, you can select “static workspaces” and then change the number of workspaces as shown in the image below:
You can access the available workspaces by clicking on the “Activities,” and then all the workspaces will be displayed on the right side of the screen, also known as “Workspace Selector”. As you can see in the image above, the number of selected workspaces is two, so you can see the two available workspaces in the image below:
As you can see in the image above that, there is a total of two workspaces shown. Now, suppose you want to change the number of workspaces to any number, for example, six, you can do that by selecting the “Static Workspaces” option first and then select the “Number of Workspaces” to six that can be seen below:
Similarly, you can also decrease the workspaces by the same method described. You can see these six workspaces as demonstrated in the image below:
As you can see, there are a total of six workspaces available. So, if you want to switch between them, then you can do that by pressing the “Ctrl+Alt” key with any arrow key from Left, right, up, and down depending upon the workspace you are currently working on:
You can delete all the additional workspaces by changing the “Number of Workspaces” value to one, as shown in the image below. After that, your screen will be your only workspace:
This article has shown you how you can switch between multiple workspaces without any hustle. It is one of the best features available in Linux OS that is also very easy to implement. One of its main advantages is that it will help you organize your work by arranging similar or different applications in different workspaces. In this way, you can access all your applications without any problem.
The landscape of generative AI is rapidly evolving, and building robust, scalable large language model…
The world of edge AI is rapidly transforming how devices and data centers work together.…
In this article, we will see how to install and use zig programming language on…
This article was adapted from its original version on NixCraft. Sed is an acronym for…
You’ve recently installed VMware Workstation on your Ubuntu system and encountered the frustrating “Could not…
Have you ever found yourself staring at a terminal full of 404 errors while trying…


